Sports
Cricket Bat Care
Oiling Your Bat
Maintaining your cricket bat properly includes oiling it regularly.
Manufacturers’ consensus on this matter is summarized by the fact that, when receiving bats for refurbishment, careful inspection revealed that roughly half were not oiled adequately, and the other half were excessively oiled up.
Looking into these measures to get the ideal balance when oiling your bat would be best.
Apply a thin layer of oil to a small piece of cloth made of very soft fabric, then rub it all over the bat’s face, edges, toe, and back.
After you’ve oiled your bat, set it horizontally to dry for at least 12 hours.
The second layer of paint can then be applied. After applying the bat, you can let it sit for another 12 hours.
In the future, you can anticipate having your bat smashed.
Regular and thorough bat oiling is recommended to protect the wood fibers and reduce the likelihood of cracks.
The face of the bat, protected by an anti-scuff cover, does not require oiling, but the back of the bat still must.
Knocking Your Cricket Bat
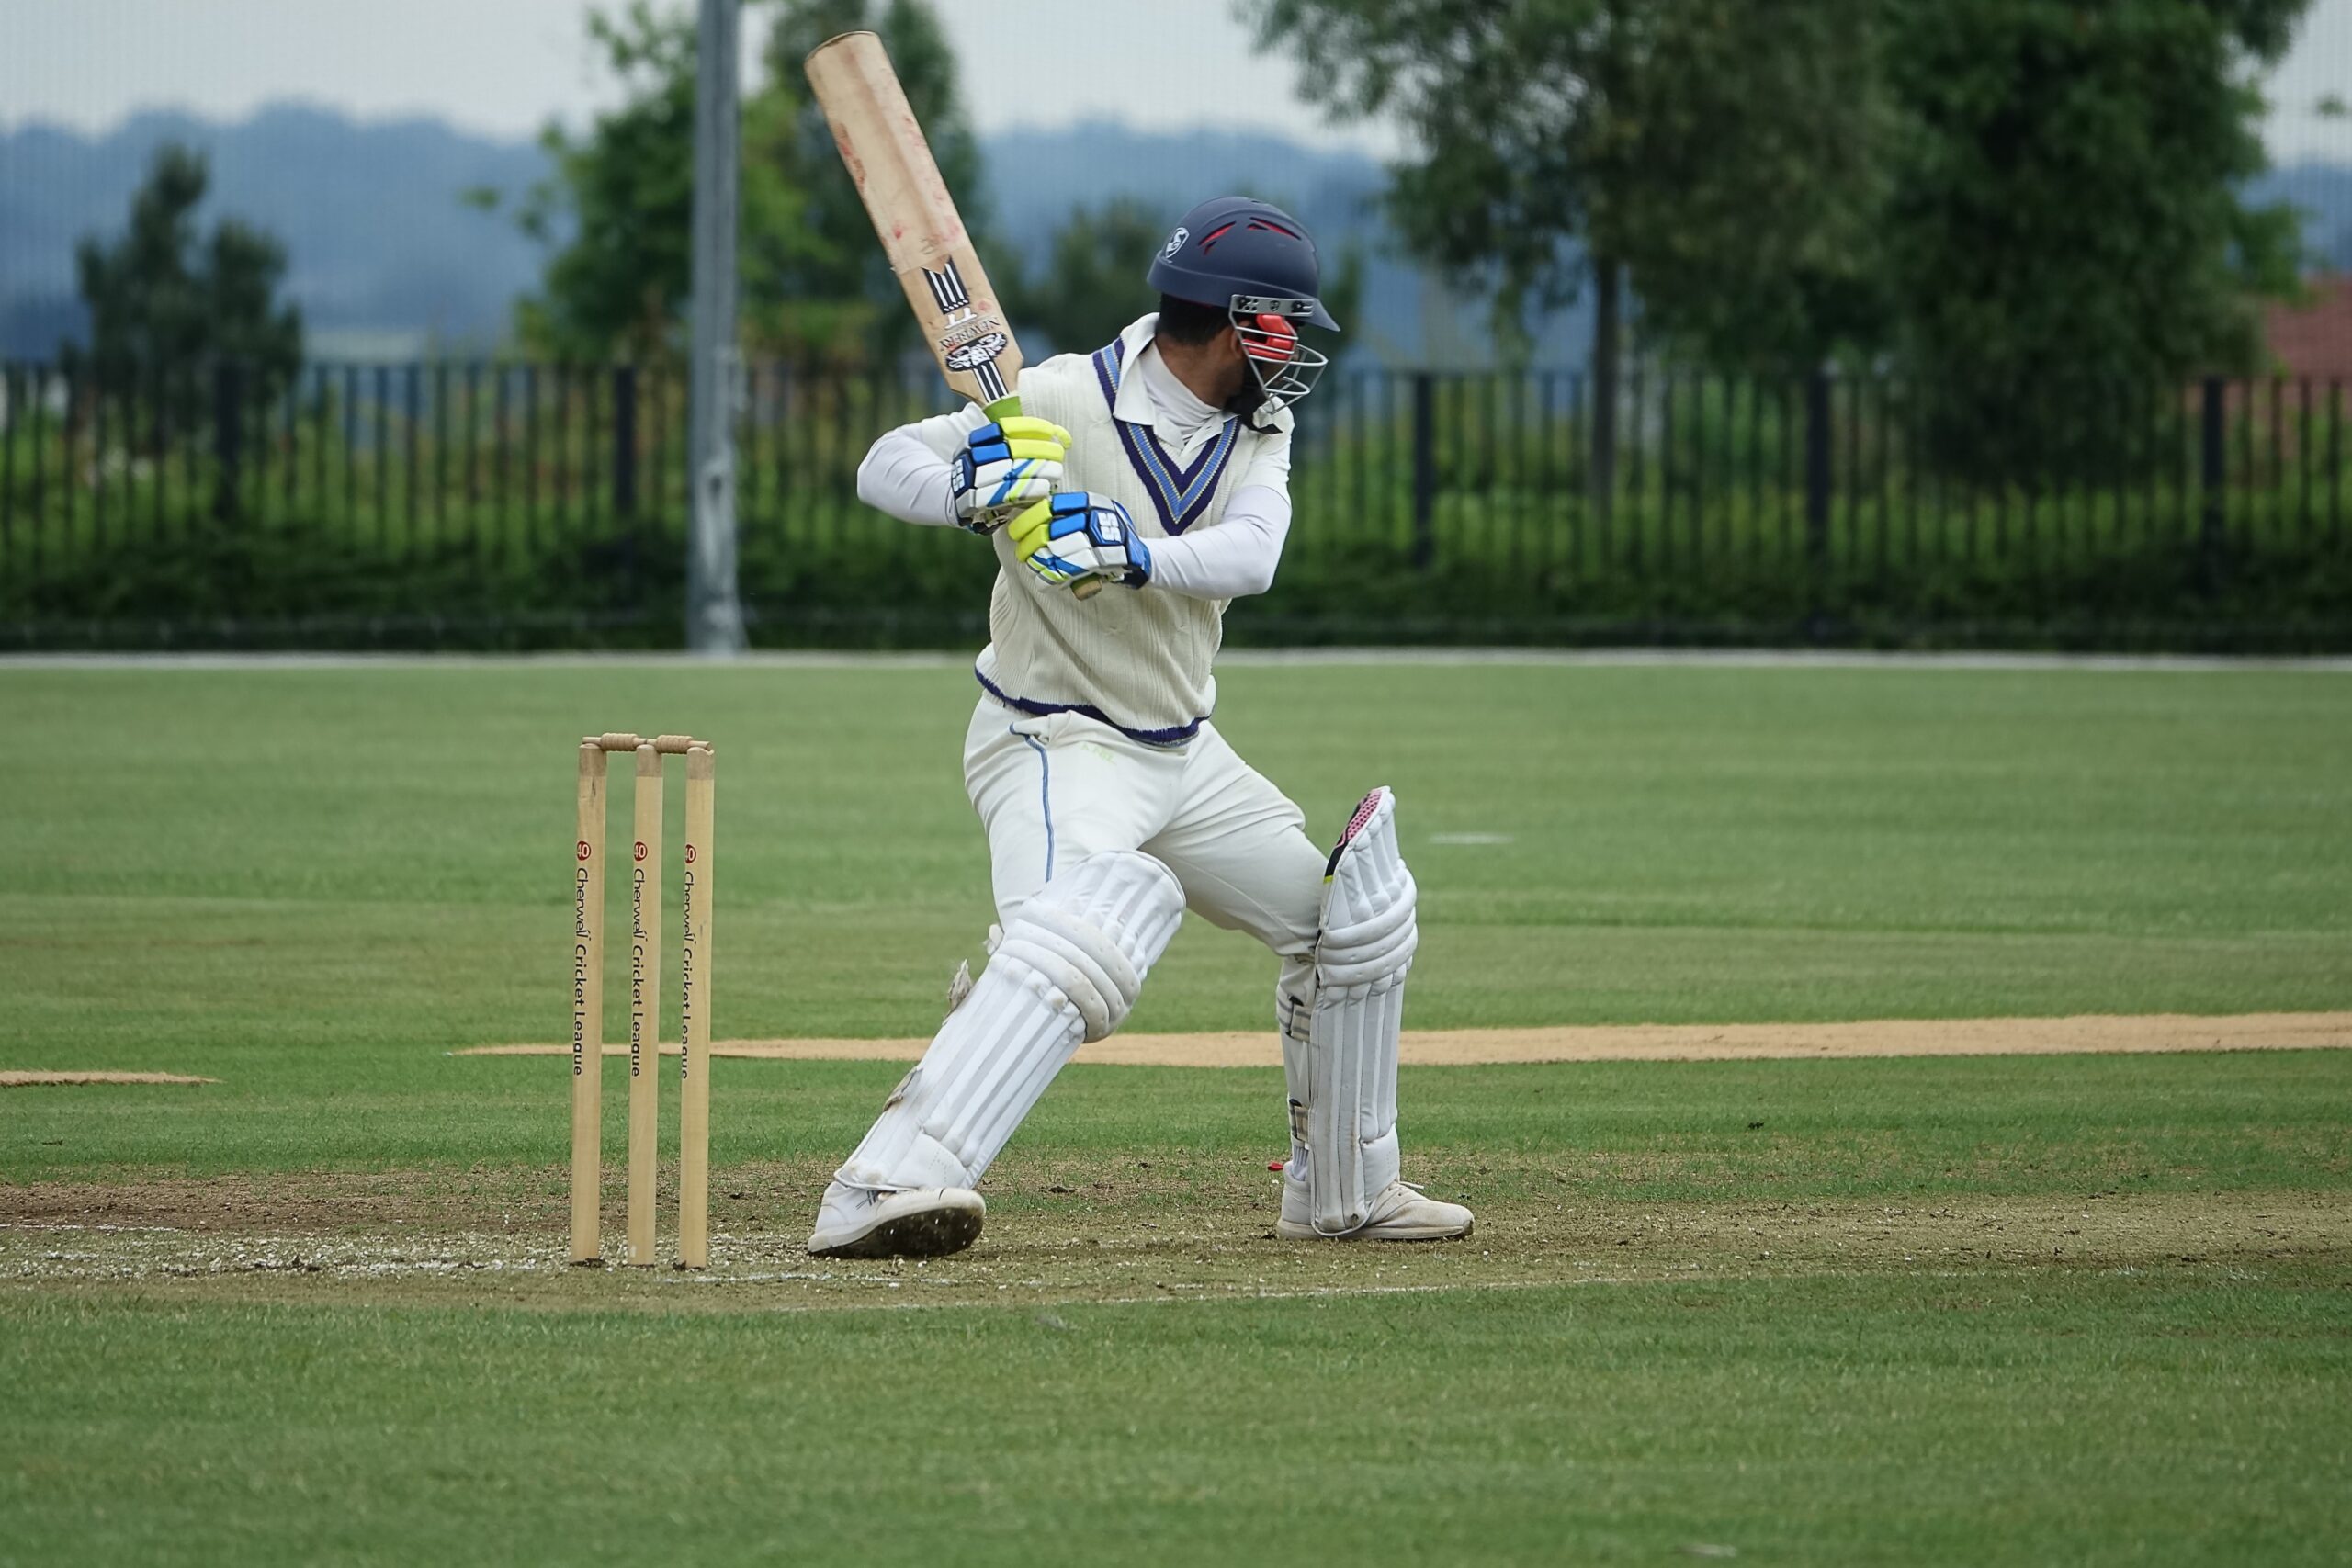
One of the most crucial steps in getting ready to play cricket is knocking on your bat.
It’s because bats generally do exceptionally well in the event of getting knocked over.
The edges, toe, and blade should be appropriately hammered to prevent the bat from breaking when tackling a cricket ball.
The bat’s wood needs to be knocked down gradually and carefully so that the fibers can be knitted together and the bat maintains its shape.
Bat Mallet in Hand
Use a hardwood mallet to gently strike the bat’s face and edges to strengthen and smooth them.
Protect it from potential harm by avoiding contact with its sharp corners, stubby toes, and the small of its back.
If you keep doing this, you’ll be able to increase the force of your strikes over time.
After two or three hours of this knocking practice, you can try out your bat by hitting short catches with any old cricket ball.
If you notice any streaks or marks on the bat’s face, it’s time for another 4-hour knocking session.
After additional training, your bat should be game-ready in a competitive setting.
Extra Safety Measures:
- Fiber tape is applied to the edges of your bat, and an anti-scuff sheet can be a huge assist.
- You can also wrap your bat in a protective cover starting 3–5 mm from the toe and continuing up the bat’s face, finishing just below the company’s branded emblem.
- Bats can dry out or crack if not checked for deterioration regularly.
- Bats that have already been “knocked in” still need to be handled with care and checked thoroughly before they can be used in a game or on a pitch. However, the time spent studying is little.
- Instead of utilizing a bat mallet, skip directly to knocking a bat’s face with an old cricket ball during net practice.
Last Words
Keep a close eye on your bat for early indicators of damage and dryness from lack of oiling. This will help prevent your bat from cracking before its time.
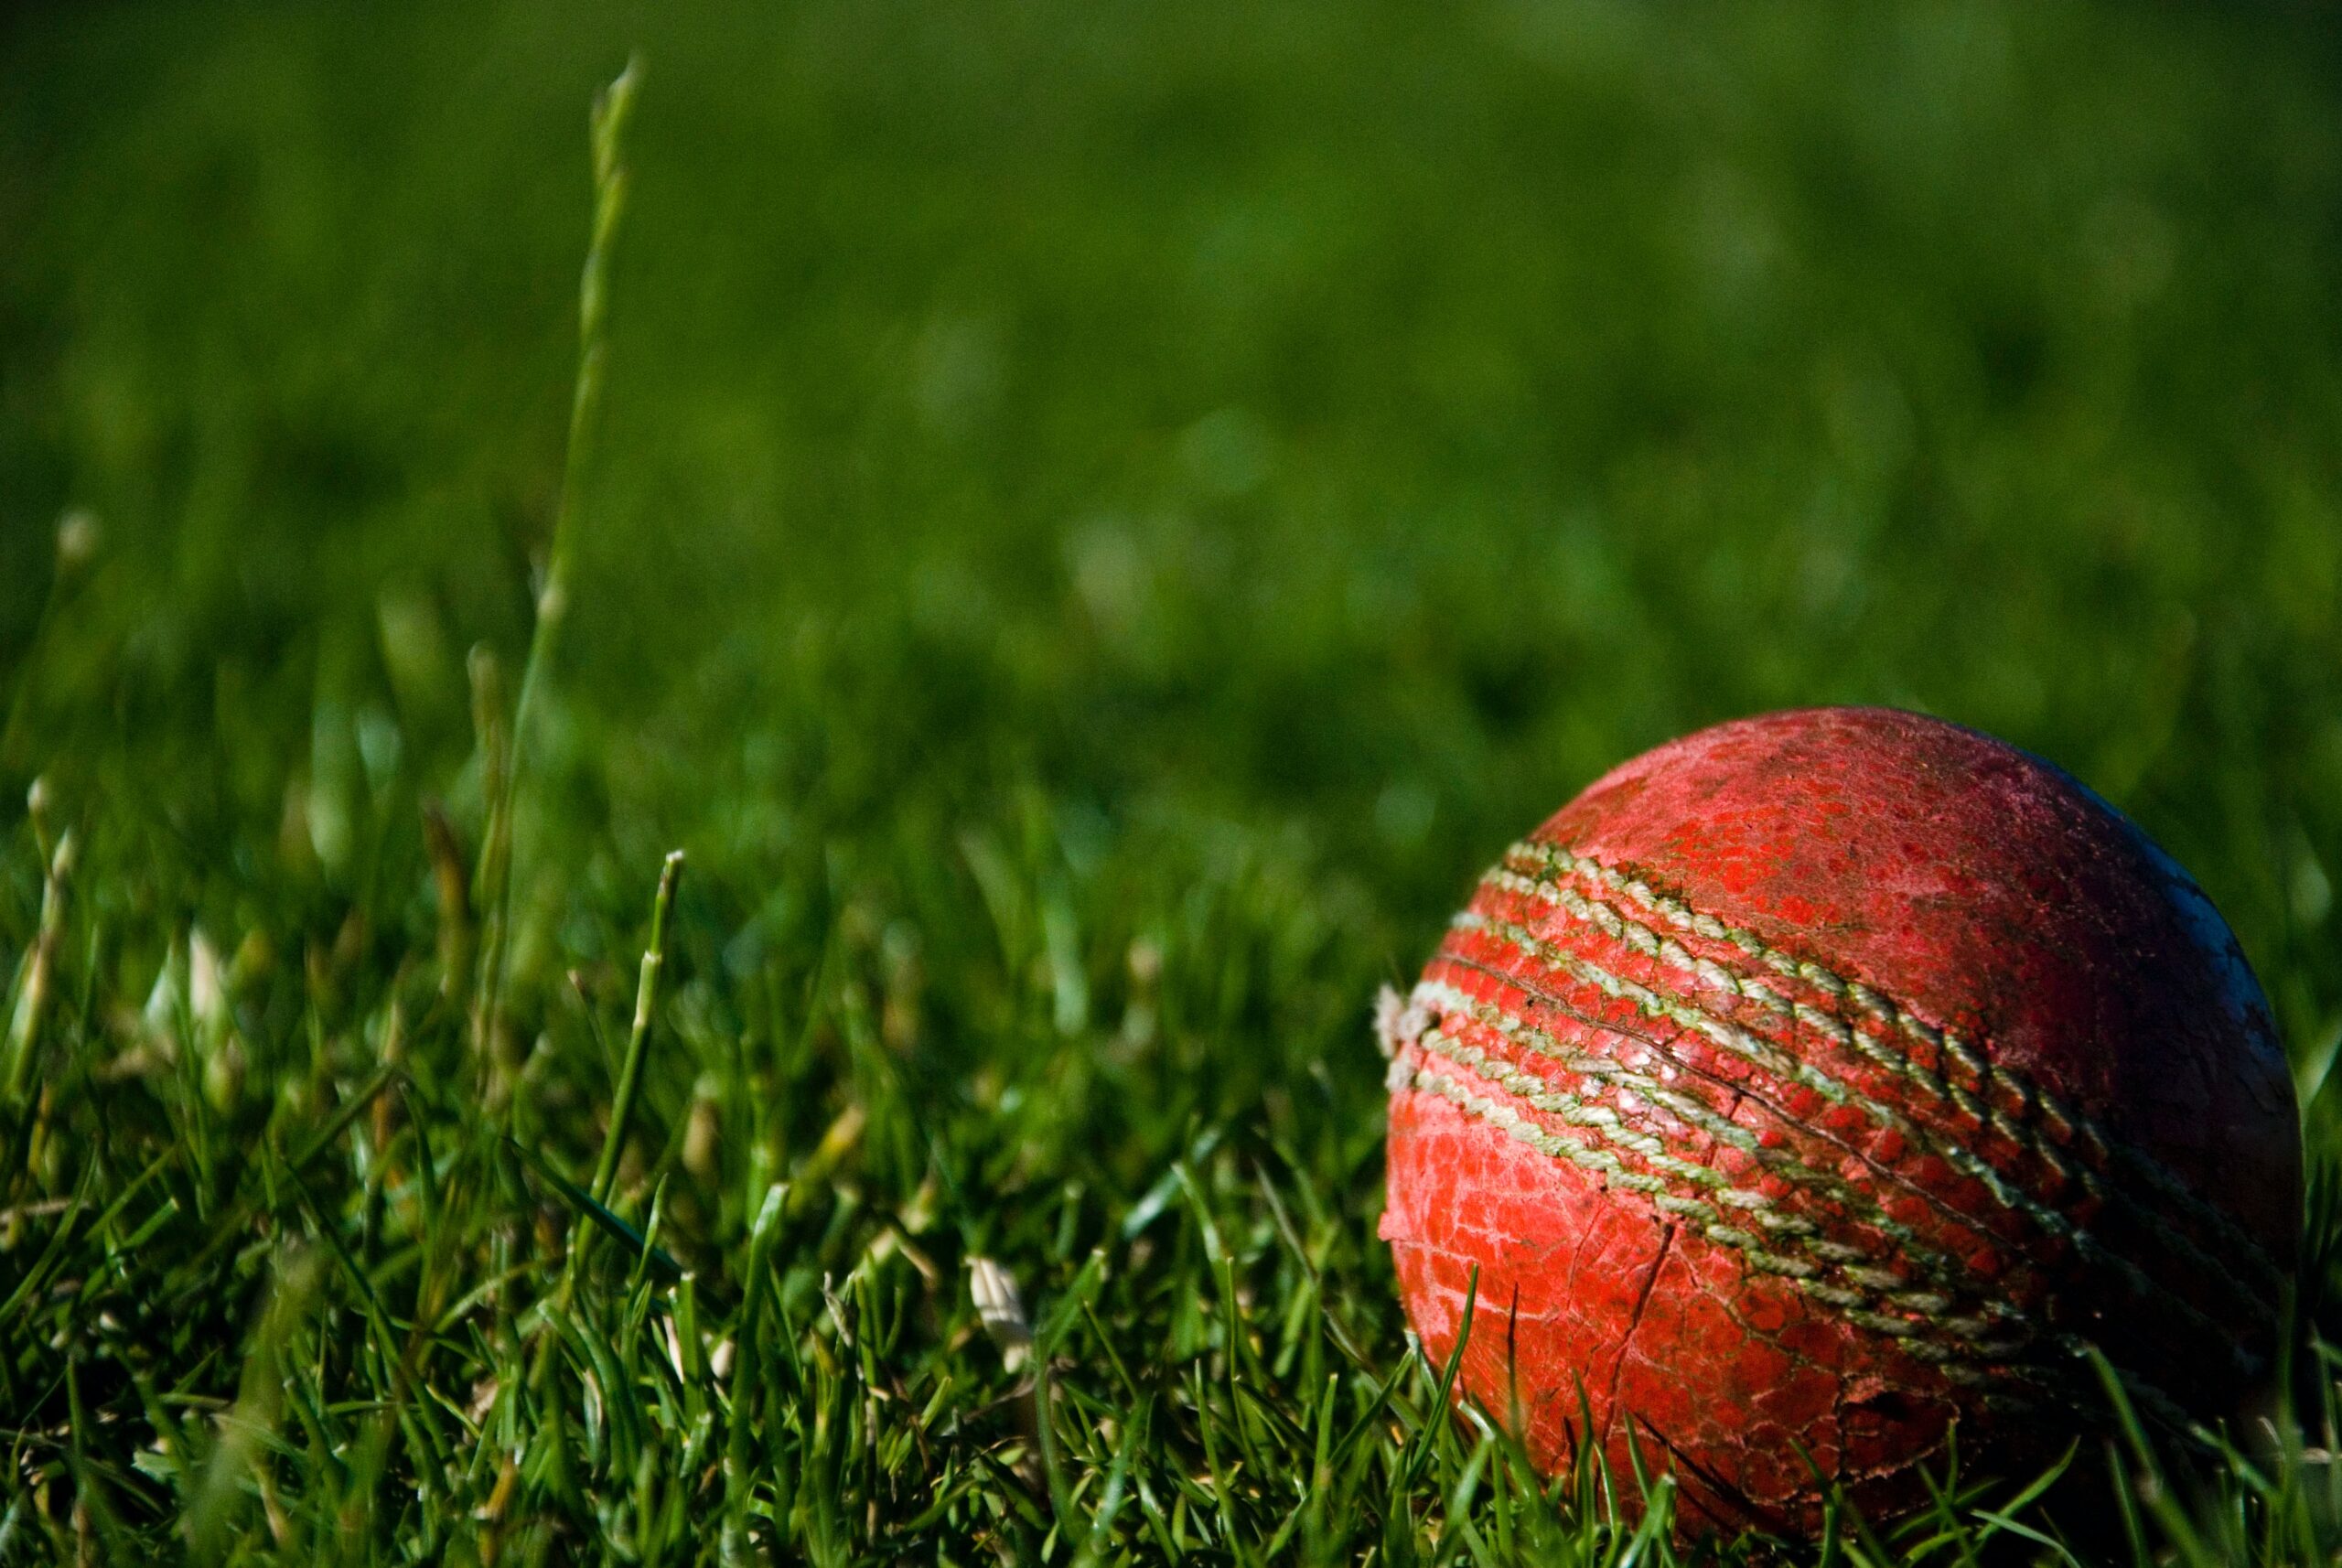
When practicing, reinsure and reassure you’re using a high-quality cricket ball.
If the bat becomes wet, it could hurt your toe, so be careful.
If a crack develops on the face or edges of your cricket bat after a series of games, sand it down and reapply the oil.
Mistimed strokes, improper storage, lack of care and maintenance, using it against subpar cricket balls, and using it in rainy weather conditions are all factors that can lead to the ruin of your bat. If your bat sustains any damage under any of these conditions, you should have it fixed immediately.

Custom sports socks are a great way for athletes to show support for their favorite teams, schools, or other organizations. In addition, they are a cost-effective and one-of-a-kind method that companies may use to promote both themselves and the things they sell. While you can buy pre-made sports sock packs from your local department store, they’ll likely be of low quality and have only a few designs that you like.
By creating your own custom socks at the best custom sports socks manufacturers online, you can get custom socks printed with your favorite design and style, you’ll be able to choose from many different colors and patterns and end up with a product that is perfect for you.
Perhaps the most important part about making your own custom sports socks is finding the right manufacturer to work with. You may feel overwhelmed by the number of manufacturers available when you begin looking for one.
However, when it comes down to it, there aren’t as many different factories as there are factories that offer similar services under different names. In this article, we will introduce you to some of the best custom sports socks manufacturers so that you know who to look at when designing your next set of athletic apparel.
What to Look for in a Custom Sports Socks Manufacturer?
Because an increasing number of sock manufacturers now offer customization options, you need to keep a few things in mind when looking for custom sports socks manufacturers.
Experience
To begin, it is essential to look for custom sports socks manufacturers that have previous experience producing the particular style of sock that you are interested in purchasing. There is a wide variety of bespoke sports sock makers, each of which focuses on a certain aspect of the industry. Make sure to choose one that emphasizes their knowledge in the field of sports socks specifically.
Cost
It is important to shop and compare prices across different custom sports socks manufacturers because the cost of customized socks is likely to be more than that of ready-made alternatives. Personalized socks can often be found at a discount if you look around.
Turnaround Time
Be sure that you are aware of how long it will take to complete your customized socks. The vast majority of custom sports socks manufacturers will have a turnaround time that is deemed to be standard; however, some of them may be able to accommodate shorter turnaround times if you are in a rush. If you keep the aforementioned considerations in mind while shopping for personalized athletic socks, you should have no trouble locating and purchasing an outstanding pair of socks to use for your athletic endeavors.
How to Find the Best Custom Sports Socks Manufacturer?
Custom sports socks manufacturers are not difficult to find if you know where to look. There are many different ways to find the best custom sports socks manufacturers for your needs, and the following tips will help you narrow down your options and find the best one for your team or business.
Search Online
One of the best ways to find custom sports socks manufacturers is to search online. This is a great way to get an overview of the different companies that are out there and see what others have to say about their experiences. A final decision can also be made after reading reviews and comparing prices.
Ask for Recommendation
Another option is to ask around for recommendations. If you know anyone who has used custom sports socks before, they may be able to point you in the right direction. Friends, family, and colleagues can all be great sources of information when it comes to finding the best products and services.
Contact The Manufacturers
Finally, don’t be reluctant to get in touch with the custom sports socks manufacturers directly. They should be able to answer any questions you have and give you more information about their products and services. You should be able to find the best custom sports socks manufacturers for your needs if you take the time to research your options and ask around.
Top 5 Best Custom Sports Socks Manufacturers in 2022
Custom sports socks have become increasingly popular in recent years, as athletes look for ways to add a personal touch to their uniforms. With so many different custom sports socks manufacturers to choose from, it can be difficult to know where to start. To help you make the best decision for your team, here are five of the best custom sports socks manufacturers in 2022:
1.Paultex Custom Sports Socks Manufacturer
PAULTEX, founded in 1998 and based in Taiwan, is a vertically integrated sock manufacturer and exporter. When you choose them as your consultant, they’ll help you through every step of the sock-making process, from production to packaging to design.
Paultex offers a wide range of socks, wristbands, gloves, and other sportswear and accessories made of textiles. Their team has years of experience in the field, and they are always updating their equipment to meet the latest requirements for sustainability. These are the kinds of ideas they have always been happy to share with their clients, both old and new, by way of cutting-edge methods and eco-friendly, forward-thinking products.
2.Custom Sock Lab
It’s no secret that custom socks have been having a moment lately. From artsy designs to company logos, there’s no shortage of ways to express yourself through your socks. And now, with the help of custom sock manufacturers like Custom Sock Lab, it’s easier than ever to create socks that perfectly reflect your style. Whether you’re looking for sports socks with your team’s colors or fun patterns to show off at the gym, Custom Sock Lab can help you design the perfect pair. With no minimum order quantity and quick turnaround times, there’s no reason not to add custom socks to your wardrobe. So go ahead and express yourself—your custom socks are waiting.
3.Oksox
Oksox is widely regarded as one of the most successful custom sports sock manufacturers in the world. Based in China, the company has over 10 years of experience in sock manufacturing and offers a wide range of socks for all types of sports and activities. Oksox socks are made from high-quality materials and are designed to provide maximum comfort and support. The company also offers a wide range of colors and designs to choose from, so you can find the perfect socks for your team or event. If you’re looking for custom sports socks, Oksox is a perfect choice.
4.Create Socks
Create Socks is the industry leader in the wholesale production of one-of-a-kind socks, in which you, the customer, play an active role in the design process. They stock every type of sock imaginable, from crew to knee-high to ankle to dress to athletic to dress to compression. Not only can text, designs, and logos be printed onto socks, but they can also be knitted into the fabric of the sock itself.
5.Hype Socks
Hype Socks is an American company that makes and sells high-quality, breathable, and moisture-wicking performance socks for sports teams, clubs, and other groups. Customers in the United States and Canada can expect their orders to be fulfilled in one to four weeks, thanks to the fact that the company manufactures the product in its own facility in the United States.
Bottom Line
Not many companies produce custom sports socks, but the ones that do have a solid reputation. The socks they make are of the highest quality, and they come in an array of styles and colors to suit your personal taste. Custom sports socks come in many styles and colors, but here are a few things to consider when choosing. First, be sure to check the quality of the socks. Second, make sure to choose a design that you like. And third, be sure to select custom sports socks manufacturers that offer a good price. Keeping these considerations in mind will make it much easier for you to track down the tailor-made athletic socks that are ideal for your requirements.
It’s Friday night and you’re wondering what to do. Do you want to go out and party, or do you want to stay in and watch the ETSU game? The answer is clear: you should stay in and watch the ETSU game! Here are five reasons why you should watch the ETSU game: 1. The ETSU game will be exciting. The ETSU game is always exciting. There is always a lot of action, and you never know what is going to happen. You will be on the edge of your seat the whole time. 2. The ETSU game is a tradition. Watching the ETSU game is a tradition for many people. If you watch the game, you will be joining a long line of people who have enjoyed this tradition. 3. The ETSU game is a social event. Watching the ETSU game is a social event. You can watch the game with your friends and family, and you will all enjoy the game together. 4. The ETSU game is a chance to cheer on your team. The ETSU game is a chance to cheer on your team. You can cheer on the ETSU Buccaneers and help them to victory. 5. The ETSU game is a chance to learn more about the sport of football. The ETSU game is a chance to learn more about the sport of football. You can learn about the players, the rules, and the history of the game. You will be a football expert by the end of the game.
ETSU game schedule 2022 day traditions
East Tennessee State University is a school located in Johnson City, Tennessee. It is a public university that was founded in 1911. The school mascot is the Buccaneers and the school colors are blue and gold. The school is a Division I school and is a member of the Southern Conference. The school has a total enrollment of just over 10,000 students. The school offers a variety of undergraduate and graduate degrees. The East Tennessee State Buccaneers have a very active and exciting athletics program. The school has a total of 19 NCAA Division I teams. The teams compete in the Southern Conference. The school also has a very successful and popular marching band. The East Tennessee State Buccaneers have a very full and exciting schedule for the 2022 season. The season kicks off on September 3rd with a home game against the University of Tennessee at Chattanooga. The next game is on September 10th when the Buccaneers travel to face the Western Carolina Catamounts. The home schedule for the 2022 season is as follows: September 17th – The Citadel Bulldogs, September 24th – The Samford Bulldogs, October 1st – The Mercer Bears, October 15th – The VMI Keydets, and November 5th – The Wofford Terriers. The away etsu football schedule 2022 season is as follows: September 10th – The Western Carolina Catamounts, September 24th – The Furman Paladins, October 1st – The Gardner-Webb Runnin’ Bulldogs, October 8th – The Chattanooga Mocs, and October 29th – The Appalachian State Mountaineers. The East Tennessee State Buccaneers have a very tough and exciting schedule for the 2022 season. The season kicks off on September 3rd with a home game against the University of Tennessee at Chattanooga. The next game is on September 10th when the Buccaneers travel to face the Western Carolina Catamounts. The home schedule for the 2022 season is as follows: September 17th – The Citadel Bulldogs, September 24th – The Samford Bulldogs, October 1st – The Mercer Bears, October 15th – The VMI Keydets, and November 5th – The Wofford Terriers.
Who are the best ETSU players of all time?
This is a question that has been asked by many Bronco fans over the years. It is a difficult question to answer, because there have been so many great players at ETSU. However, after much deliberation, I have compiled a list of the top five ETSU players of all time. 5. Derrick Craine Derrick Craine is a running back who played for ETSU from 2010-2014. He is the all-time leading rusher in ETSU history, with 4,065 yards. He is also the all-time leader in touchdowns, with 44. Craine was a three-time First Team All-Southern Conference player, and was also named a Second Team All-American in 2014. He was a key player on ETSU’s two SoCon championship teams in 2010 and 2013. 4. Antonio Robinson Antonio Robinson is a wide receiver who played for ETSU from 1996-2000. He holds the school record for most career receptions (202) and receiving yards (2,752). Robinson was a two-time First Team All-Southern Conference player, and was also named a Third Team All-American in 2000. He was the MVP of the 2000 FCS National Championship game, in which ETSU defeated Montana 26-14. 3. Jay Powell Jay Powell is a linebacker who played for ETSU from 1984-1988. He is the school’s all-time leader in tackles (527) and sacks (32.5). Powell was a two-time First Team All-Southern Conference player, and was also named a Second Team All-American in 1988. He was a member of ETSU’s two SoCon championship teams in 1984 and 1988. 2. Gerald Sensabaugh Gerald Sensabaugh is a safety who played for ETSU from 2002-2005. He is the school’s all-time leader in interceptions (20) and interception return yards (259). Sensabaugh was a two-time First Team All-Southern Conference player, and was also named a Third Team All-American in 2005. He was a key player on ETSU’s 2002 SoCon championship team. 1. Lee Hendricks Lee Hendricks is a quarterback who played for ETSU from 1985-1988. He is the school’s all-time leader in passing yards (7,948) and passing touchdowns (59). Hendricks was a three-time First Team All-Southern Conference player, and was also named a First Team All-American in 1988. He was the MVP of the 1988 FCS National Championship game, in which ETSU defeated Furman 48-29.
ETSU’s most memorable games -ETSU’s current season
record is 13-9-1. As the Bucs enter the last few games of the season, they’ve had an impressive run, beating some of the top teams in the country. So far this season, ETSU has had some amazing games that have been nail biters, blowouts and everything in between. Here are ETSU’s most memorable games of the season. ETSU vs UNCG: This game was a nail biter. The Bucs entered the game with an impressive record of 9-1-1, but UNCG was not going to go down without a fight. The game was neck and neck until the last few minutes when ETSU pulled ahead and won the game 2-1. ETSU vs. Davidson: This was a huge upset win for the Bucs. Davidson was ranked 4th in the nation at the time, while ETSU was unranked. The Bucs played an impressive game and won 3-0. ETSU vs. High Point: This was a blowout win for the Bucs. High Point is a Division 1 school, while ETSU is a Division 2 school. The Bucs won the game 7-0. ETSU vs. Clemson: This was another huge upset win for the Bucs. Clemson was ranked 2nd in the nation at the time, while ETSU was unranked. The Bucs played an impressive game and won 1-0. ETSU vs. Furman: This was another upset win for the Bucs. Furman was ranked 11th in the nation at the time, while ETSU was unranked. The Bucs played an impressive game and won 2-1. ETSU vs. Kennesaw State: This was a huge win for the Bucs. Kennesaw State is a Division 1 school, while ETSU is a Division 2 school. The Bucs won the game 5-0. ETSU vs. USC Upstate: This was a win for the Bucs, but it was not an impressive one. USC Upstate is a Division 1 school, while ETSU is a Division 2 school. The Bucs won the game 2-1. ETSU vs. Mercer: This was a win for the Bucs, but it was not an impressive one. Mercer is a Division 1 school, while ETSU is a Division 2 school. The Bucs won the game 1-0. ETSU vs. East Tennessee State: This is the most recent game for the Bucs. It was a win for the Bucs, but it was not an impressive one. East Tennessee State is a Division 1 school, while ETSU is a Division 2 school. The Bucs won the game 1-0. ETSU’s most memorable games of the season have been nail biters, upset wins, and blowouts. The Bucs have played some amazing games this season and they are sure to leave a lasting impression on their fans.

Sports are a global phenomenon. People of all ages, genders, and nationalities play, watch, and talk about sports. From basketball to soccer and even cricket, this world has it all. Sports are very popular in the U.S. alone. In fact, the average American spends 5.5 hours per week on sports.
This is just the average; some spend a lot more. This popularity has evolved into an industry worth around $500 billion per year. I don’t know about you, but I’d love to get a cut of that.
Making a career in sports is not easy in India. India is known for producing hundreds of thousands of talented sportsmen and women every year. Though they are a part of a talented community, they are also a part of a community that has a scarcity of opportunities and resources. The situation has changed a lot, but still, there is a lot to be done.
Before making a career in sports, you must have a clear understanding of what a sports career means and what the jobs are in the sports industry. You must also know about the best sports career options. The sports industry is one of the most competitive industries in the world.
The competition is not limited to the players but to the management, coaches, and sports management companies. It’s not necessary that making a career in the sports industry is easy. You have to put in a lot of hard work and have a clear vision.
Making a sports career in India is a tough task, but not impossible. It may be even tougher for a woman to make a career in sports, but it’s not impossible. There are many women who have made a name in sports in India. They have not only inspired the youth but have also made the country proud by winning medals for the country.
How to Make a Sports Career in India
Many young people dream of becoming the next Sachin Tendulkar or Virat Kohli. But the harsh reality is that you will need to join a cricket academy to get the right training in India. If you dream of becoming a professional Indian cricketer, then you will have to have an extremely high level of discipline, and you will also have to be willing to put in a lot of hard work.
Many young people who want to become a cricket stars often quit because they are not willing to work hard. A lot of people like to play cricket on the weekends, but that is not going to be enough to become a professional cricketer.
The most important thing you need to do to become a professional in any sport is to find the right coach. The coach will help you develop your skills and make a career for yourself in a sport. If you have that, you will also have to have enough dedication to practice as much as you can.
You need to practice a lot to become good at a sport. If you don’t have the required determination, you will not be able to succeed in a sport. You need to work hard and practice regularly. Practice makes perfect and with practice, vision and the right opportunities, you are set on the path to success.
 Others10 months ago
David T Bolno: Why Giving Back To The Community Is So Crucial
 Travel10 months ago
Practical And Essential Car Interior Accessories To Add Comfort And Convenience To Your Drive
 Travel10 months ago
Business Visa for CANADA
 Business10 months ago
Top Reasons Why you Need to Consider Outsourcing Real Estate Photo Editing
 Health10 months ago
Garlic Is The Best Vegetable To Treat Heart Problems
 Fashion10 months ago
Tips For Choosing The Right For Engagement Diamond Rings
 Business10 months ago
Dead And Co Setlist What They Played At The Gorge Amphitheatre
 Tech10 months ago
The Best Way to Never Get Lost: Buy Wayfinding Signs!