Entertainment
CANADA VISA FOR SPANISH CITIZENS

To visit Canada for up to 6 consecutive months by air, Spanish citizens must obtain an approved travel authorization in advance. The introduction of the online CANADA VISA FOR SPANISH CITIZENS for Canada (electronic travel authorization) in 2016 has greatly simplified this process, as it made it possible to apply exclusively online.
An approved Canada eTA from Spain is valid for a total of 5 years from the date of issue, meaning there is no need to submit an electronic application before every trip to Canada. It is a multiple entry online visa waiver and allows multiple entries to Canada during its validity.
DO SPANISH CITIZENS NEED A VISA FOR CANADA?
Whether traveling for business or pleasure, all Spanish citizens are required to have an approved visa waiver to visit Canada for all periods up to 6 months if arriving by air.
This process has been greatly simplified with the introduction of the Electronic Travel Authorization (eTA,) which can be applied for online from the comfort of the applicant’s own home.
Application is as simple as completing an online form and making an electronic payment, and the traveler receives an approved eTA for Canada electronically linked to their passport.
Although an eTA can take up to 2 days to process, Spanish citizens who need an eTA for urgent travel to Canada are able to select an expedited processing option when submitting their application. By selecting ‘Urgent Guaranteed Processing in less than 1 hour’ when paying the eTA fee, the applicant guarantees they will have their eTA processed in under 60 minutes.
REQUIREMENTS FOR THE CANADA ETA VISA FROM SPAIN
Before applying for the Canada eTA visa waiver from Spain, applicants must consider the following:
- The intended purpose of the visit to Canada must be tourism, transit, business, or medical. The eTA is not valid for other purposes such as to work, study, or retire.
- Biometric Spanish Passport. Only biometric passports may be used in the application of a Canadian eTA. The approved authorization is linked to the traveler’s passport and is designed to be read by electronic immigration machines at the border. The passport must be valid for a minimum of 6 months from the day of entry into Canada.
- Air travel only. The eTA visa waiver is valid only for travel by air to Canada. Therefore if the intended port of entry is via one of the land borders with the USA, or one of the country seaports, the CANADA VISA FOR DANISH CITIZENS will not be valid, and a Canadian visitor visa will be required.
- Minimum age requirement. All applicants must be at least 18 years of age in order to apply. Parents of children under the age of 18 may apply on their behalf (check eTA requirements for minors)
- Maximum stay of 180 days. The maximum duration that a Spanish citizen may stay in the country on one particular visit is 180 days. For stays of longer than 180 days, a different category of visa for Canada will need to be applied for.
If the applicant’s passport expires during the validity of the Canadian eTA Canada, it is necessary to submit a new application online to be able to travel to Canada from Spain.
Additionally, Spanish applicants who have dual nationality and need an eTA must ensure that they use the same passport to travel to Canada as that which they used to complete the electronic form.
In both cases, this is because an approved eTA from Spain is electronically linked to one individual passport.
APPLY FOR A CANADIAN ETA VISA WAIVER FROM SPAIN
Applying for a Canada visa waiver for a Spanish passport holder is a simple process that can be completed from home. All that is needed is a device with an internet connection, personal and passport details, and a form of online payment.
An online eTA application form should take no longer than 30 minutes to complete, and requires details such as the traveler’s name, date of birth, address, and contact details, as well as the reason for travel.
Once the eTA form is complete, online payment via debit or credit card is required to submit the application.
Once approved, the eTA for Spanish citizens will be linked to the biometric passport for 5 years of air travel to Canada, or until the passport expires, whichever date is sooner.
The following is needed in order to apply:
- A valid biometric passport. Each applicant must be in possession of a biometric Spanish passport with a minimum of 6 months validity.
- A valid form of online payment. A credit or debit card will be required in order to make a payment for the eTA fee.
- An email address to which eTA visa waiver approval notice will be sent.
All Spanish citizens planning to visit Canda must ensure they either have an approved eTA to enter Canada, or a visa from an embassy (if they plan on staying the country for more than 6 months).
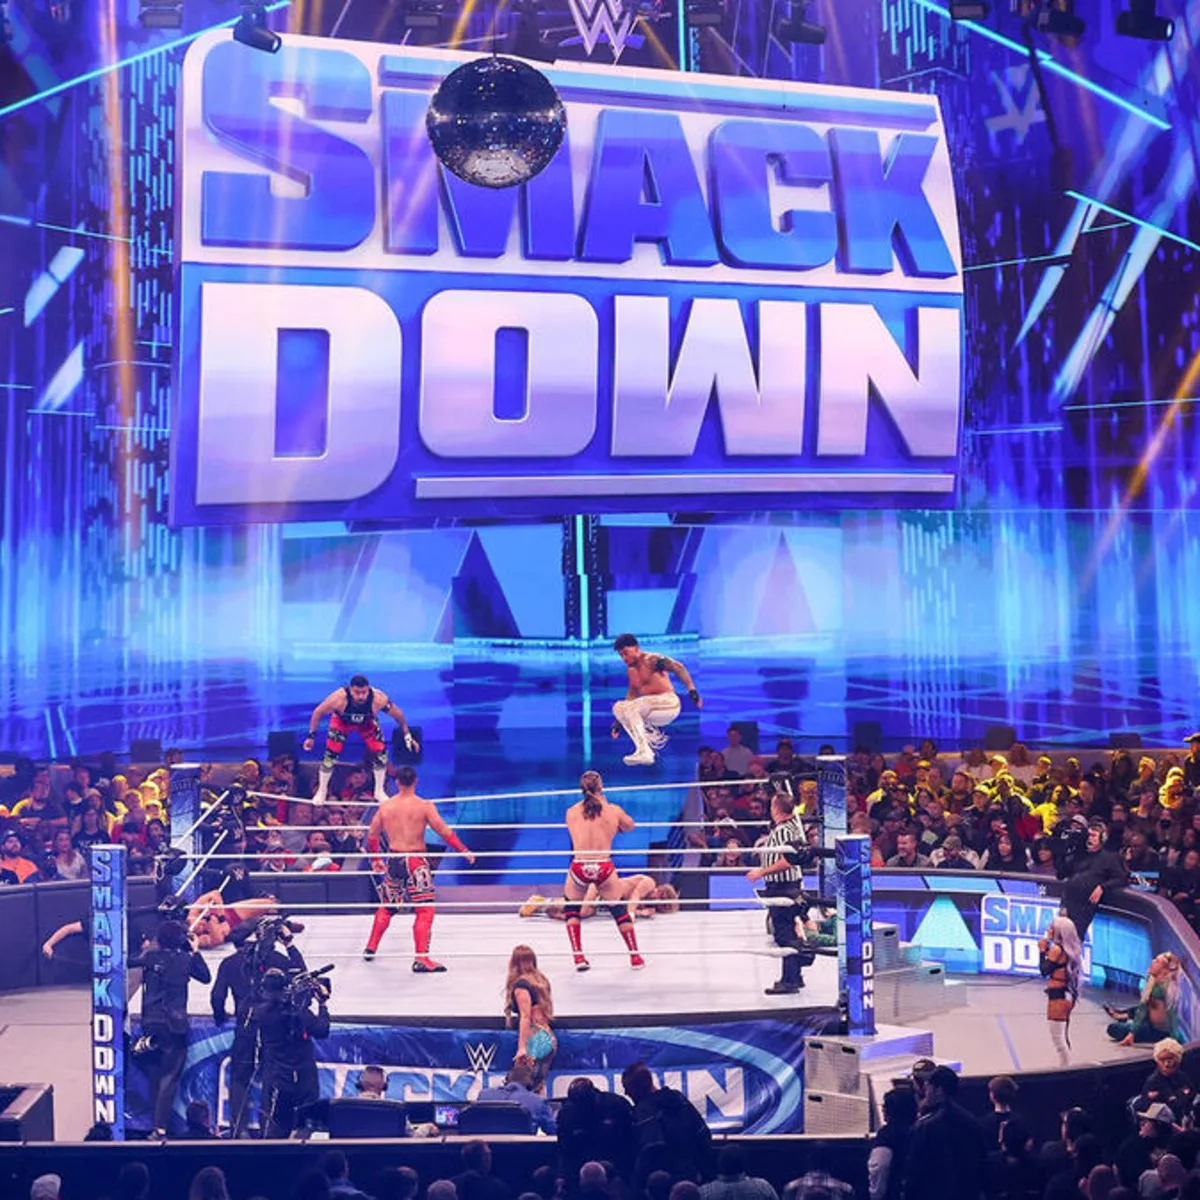
WWE SmackDown Episode 1491 was packed with exciting matches, unexpected confrontations, and high-energy moments that kept fans on the edge of their seats. As part of WWE’s ongoing tradition of delivering top-tier sports entertainment, this episode was no exception. With rivalries intensifying and the road to major pay-per-view events heating up, this Friday night featured everything a WWE fan could ask for—from thrilling in-ring battles to dramatic backstage encounters.
A Grand Opening Segment That Set the Tone
The show opened with a bang as top WWE Superstars made their way to the ring, starting with Roman Reigns, the reigning WWE Universal Champion. As usual, Reigns commanded the audience’s attention with his intimidating presence. This segment wasn’t just for show—Reigns delivered a scathing promo, addressing his ongoing feud with key challengers, igniting the crowd and setting the stage for what promised to be a heated main event later in the night.
His confidence, backed by The Bloodline, promised an exciting night. Meanwhile, his rivals had plenty to say as tensions escalated. The opening moments of WWE SmackDown Episode 1491 were the perfect precursor to a night filled with intense action and storytelling.
Tag Team Match: A High-Stakes Showdown
The first match of the night saw an electrifying tag-team battle between The Street Profits and The Brawling Brutes. The action started at a breakneck pace, with both teams showing off their signature moves. The Profits, known for their athleticism, flew around the ring, while the Brutes relied on raw power and aggression.
This match had everything: high-flying aerial attacks, hard-hitting slams, and near-falls that kept the audience guessing until the very end. In a thrilling finish, the Brawling Brutes emerged victorious, but not without controversy as a distraction from an outside interference tilted the scales in their favor.
Women’s Division: Fierce Competition and Rivalries
The women’s division continues to be a focal point in WWE, and Episode 1491 showcased two major storylines. In a singles match, Shotzi faced off against Chelsea Green. Shotzi, always the crowd favorite, came into this match with the momentum of recent victories, while Green aimed to cement her place in the title picture. The bout was filled with hard-hitting action, but ultimately, Shotzi’s resilience shone through, as she picked up a decisive win.
Meanwhile, backstage segments further teased the escalating tension between the reigning WWE Women’s Champion Iyo Sky and her challenger, Charlotte Flair. Flair, ever the consummate professional, delivered a fierce promo, warning Sky that her reign would soon come to an end.
Intercontinental Championship Match: A Clash of Titans
One of the most highly anticipated matches of the night saw the Intercontinental Champion, Gunther, defend his title against Sheamus. This clash was the epitome of hard-hitting wrestling, with both men exchanging brutal blows. The crowd was fully behind Sheamus, who has become one of the most beloved figures on SmackDown. Gunther, however, proved once again why he is one of the most dominant champions in WWE today.
After a grueling back-and-forth battle, Gunther retained his title, but not without controversy. The match ended in a count-out after Gunther strategically maneuvered out of the ring, evading Sheamus’s finishing move. The crowd was left buzzing, wondering if this feud was far from over.
A Surprising Return Shakes Up the Night
Midway through WWE SmackDown Episode 1491, the WWE Universe was treated to a shocking return—AJ Styles. The “Phenomenal One” made his long-awaited comeback after weeks of absence due to injury. The crowd erupted as Styles hit the ring, issuing a challenge to one of WWE’s rising stars, Austin Theory.
This moment not only marked Styles’ return to in-ring action but also reignited his pursuit for championship gold. Fans are already speculating that Styles’ presence will shake up the championship landscape on SmackDown, creating endless possibilities for future rivalries.
Roman Reigns’ Main Event Dominance
The night’s main event featured Roman Reigns defending his WWE Universal Championship against an up-and-coming challenger, LA Knight. Knight, known for his brash attitude and sharp promos, had worked his way up to this opportunity, and fans were eager to see if he could dethrone the seemingly invincible Reigns.
From the start, the match was a high-stakes affair. Reigns, accompanied by The Bloodline, employed his usual mix of power and mind games to keep Knight off balance. However, LA Knight’s fiery resilience showed why he’s become a fan favorite. The audience was fully invested in the action, cheering for Knight with every move he executed.
Despite Knight’s best efforts, Reigns proved why he is the “Head of the Table.” After a grueling contest, Reigns secured the win with his signature Spear, continuing his dominant reign as WWE Universal Champion. As the show went off the air, the SmackDown audience knew they had witnessed something special.
Also Read: Unlocking the Power of ILML TV: A New Era in Streaming Services
WWE SmackDown Episode 1491: A Closer Look
WWE SmackDown Episode 1491 delivered on every front, from surprise returns to hard-hitting matches. Fans were treated to top-tier action and gripping storylines that continue to drive WWE’s momentum forward. The interplay between Roman Reigns and his challengers and the development of rivalries within the women’s division sets the stage for even bigger moments in the coming weeks.
This episode demonstrated WWE’s ability to keep fans engaged, balancing in-ring action and storyline development. As the road to future pay-per-view events continues, it’s clear that WWE SmackDown is more exciting than ever.
Conclusion
WWE SmackDown Episode 1491 blended thrilling matches, strong storytelling, and unexpected moments that will keep fans talking until the next Friday night. With major rivalries continuing to build, the episode set the stage for exciting future events, ensuring that WWE SmackDown remains a must-watch television. Whether it was the dramatic return of AJ Styles or Roman Reigns’ continued dominance, this episode delivered on all fronts, reaffirming why WWE continues to captivate audiences worldwide.
Conclusion
WWE SmackDown Episode 1491 provided a blend of thrilling matches, strong storytelling, and unexpected moments that will keep fans talking until the next Friday night. With major rivalries continuing to build, the episode set the stage for exciting future events, ensuring that WWE SmackDown remains a must-watch television. Whether it was the dramatic return of AJ Styles or Roman Reigns’ continued dominance, this episode delivered on all fronts, reaffirming why WWE continues to captivate audiences worldwide.
FAQs
How did Roman Reigns retain his title on WWE SmackDown Episode 1491?
Roman Reigns retained his WWE Universal Championship in the main event against LA Knight by utilizing his power and experience, eventually finishing the match with a Spear.
What was the most shocking moment of WWE SmackDown Episode 1491?
The return of AJ Styles was the most surprising moment, as he made a dramatic comeback to challenge Austin Theory.
Which tag teams competed in WWE SmackDown Episode 1491?
The Street Profits faced off against The Brawling Brutes in an intense tag team match.
Who won the Intercontinental Championship match?
Gunther successfully retained his Intercontinental Championship against Sheamus in a hard-fought contest.
Was there a women’s match on WWE SmackDown Episode 1491?
Yes, Shotzi competed against Chelsea Green and picked up the victory in a singles match.
What happened in the women’s division storyline during this episode?
Charlotte Flair continued her rivalry with WWE Women’s Champion Iyo Sky, teasing an inevitable showdown for the championship.
The blinking red light on a Hisense TV is an indication of an underlying issue within the device. It serves as a visual alert, prompting users to investigate and resolve the problem to restore normal functionality. Hisense TVs have gained popularity for their affordability, quality, and advanced features. However, like any electronic device, they may encounter technical issues over time. One such issue that users often encounter is the blinking red light, signaling a problem that needs attention.
Common Causes of Hisense TV Blinking Red Light
Power Supply Issues
In some cases, power supply issues such as faulty cables, power surges, or a damaged power board can trigger the red blinking light on Hisense TVs.
Software Glitches
Software glitches or firmware errors may cause the TV to enter a diagnostic mode, resulting in the blinking red light as a signal of system instability.
Hardware Malfunctions
Hardware malfunctions, including defective components or overheating, can also lead to the blinking red light issue on Hisense TVs.
Troubleshooting Steps
Checking Power Connections
Ensure that all power connections are secure and that the power outlet is functioning correctly. Replace any damaged cables or adapters if necessary.
Resetting the TV
Perform a soft reset by unplugging the TV from the power source for a few minutes, then plug it back in and power it on to see if the issue resolves.
Updating Firmware
Check for available firmware updates for your Hisense TV model and install them as instructed by the manufacturer to address any software-related issues.
Inspecting for Hardware Damage
Carefully inspect the TV for signs of physical damage or component failure. If any hardware issues are detected, consider seeking professional repair services.
When to Seek Professional Help
If the blinking red light persists despite troubleshooting efforts or if you suspect a more serious hardware issue, it may be advisable to consult a qualified technician or contact Hisense customer support for assistance.
Preventive Measures
To minimize the risk of encountering the blinking red light issue in the future, adopt preventive measures such as:
- Using high-quality surge protectors to safeguard against power fluctuations.
- Keeping the TV’s firmware up to date by regularly checking for updates.
- Avoiding exposure to extreme temperatures or humidity that may affect the TV’s performance.
User Experiences and Solutions
Many Hisense TV users have shared their experiences and solutions to the blinking red light issue online forums and communities. Exploring these resources can provide valuable insights and troubleshooting tips.
Conclusion
The blinking red light on a Hisense TV can be indicative of various underlying issues, ranging from minor software glitches to hardware malfunctions. By understanding the potential causes and following appropriate troubleshooting steps, users can effectively address the problem and restore their TV’s functionality.
FAQS
Why is my Hisense TV blinking red?
- The blinking red light on your Hisense TV typically indicates an underlying issue within the device. Common causes include power supply issues, software glitches, or hardware malfunctions. It’s important to troubleshoot the problem to determine the exact cause and take appropriate action.
How do I reset my Hisense TV to fix the blinking red light issue?
- To reset your Hisense TV and potentially resolve this issue, you can perform a soft reset by unplugging the TV from the power source for a few minutes, then plugging it back in and powering it on again. This can help reset the system and clear any temporary glitches.
Is the blinking red light on my Hisense TV indicative of a serious problem?
- The blinking red light on your Hisense TV can indicate various issues, ranging from minor software glitches to more serious hardware malfunctions. While some problems may be resolved through simple troubleshooting steps, persistent issues may require professional attention. It’s essential to assess the situation and seek assistance if needed.
Can I repair my Hisense TV’s blinking red light issue myself?
- In some cases, you may be able to troubleshoot and resolve this issue on your Hisense TV yourself by following troubleshooting guides provided by the manufacturer or online resources. However, if the problem persists or if you’re unsure about performing repairs, it’s advisable to seek professional assistance to avoid causing further damage.
What should I do if the troubleshooting steps don’t resolve the blinking red light problem on my Hisense TV?
- If the troubleshooting steps fail to resolve the this problem on your Hisense TV, it’s recommended to contact Hisense customer support or consult a qualified technician for assistance. They can diagnose the issue more accurately and provide guidance on potential solutions or repairs.

Here’s “how to remove a show from continue watching on peacock list. Peacock, the popular streaming service, offers users the convenience of picking up where they left off with the “Continue Watching” feature.
Introduction to Peacock Streaming Service
Peacock is a streaming platform that offers a wide range of movies, TV shows, and original content for subscribers to enjoy. With its user-friendly interface, Peacock provides a seamless viewing experience for users across various devices.
Importance of Managing “Continue Watching” on Peacock
The “Continue Watching” feature on Peacock allows users to resume playback of shows and movies from where they left off. While convenient, it’s essential to manage this feature to keep your viewing list organized and clutter-free.
Understanding the “Continue Watching” Feature on Peacock
When you watch a show or movie on Peacock and pause or stop playback, it gets added to your “Continue Watching” list. This list enables you to easily find and resume playback of content across different devices.
Steps to Remove a Show from “Continue Watching” on Peacock
Accessing the “Continue Watching” Section
- Open the Peacock app or website and navigate to the “Continue Watching” section on the homepage.
Selecting the Show to Remove:
- Scroll through the list of shows and movies in your “Continue Watching” section and select the one you want to remove.
Removing the Show from the List:
- Once you’ve selected the show, look for the option to remove it from your “Continue Watching” list. This option is typically found in the show’s details or settings menu.
Benefits of Removing Shows from “Continue Watching”
Removing shows from your “Continue Watching” list helps declutter your viewing experience and ensures that you only see content that you’re actively interested in watching.
Troubleshooting Tips for Removing Shows on Peacock
If you encounter difficulties removing shows from your “Continue Watching” list, try logging out of your Peacock account and logging back in. Alternatively, you can try accessing the “Continue Watching” section from a different device or browser.
Conclusion
In conclusion, managing your “Continue Watching” list on Peacock is essential for maintaining an organized and personalized viewing experience. By following the steps outlined above, you can easily remove shows and movies from your list as needed.
FAQs
Can I remove multiple shows at once from my “Continue Watching” list on Peacock?
- As of the latest information available, Peacock does not offer a feature to remove multiple shows at once from the “Continue Watching” list. Users typically need to remove shows individually from their list.
Will removing a show from “Continue Watching” delete my viewing progress?
- No, removing a show from your “Continue Watching” list on Peacock will not delete your viewing progress. It only removes the show from the list, allowing you to organize your viewing preferences without affecting your progress within the show.
Why can’t I find the option to remove a show from my “Continue Watching” list on Peacock?
- The option to remove a show from your “Continue Watching” list on Peacock is typically available when you select the show from the list. Look for options such as “Remove from Continue Watching” or a similar prompt within the Peacock app or website.
Is there a limit to the number of shows I can have in my “Continue Watching” list on Peacock?
- As of the latest information available, Peacock does not impose a specific limit on the number of shows you can have in your “Continue Watching” list. However, the length of your list may depend on factors such as device storage and the capabilities of the Peacock app.
Can I customize the order of shows in my “Continue Watching” list on Peacock?
- Peacock does not currently offer a feature to customize the order of shows in the “Continue Watching” list. The list typically organizes shows based on your recent viewing activity, with the most recently watched shows appearing at the top of the list
 Others1 year ago
David T Bolno: Why Giving Back To The Community Is So Crucial
 Travel1 year ago
Practical And Essential Car Interior Accessories To Add Comfort And Convenience To Your Drive
 Travel1 year ago
Business Visa for CANADA
 Fashion1 year ago
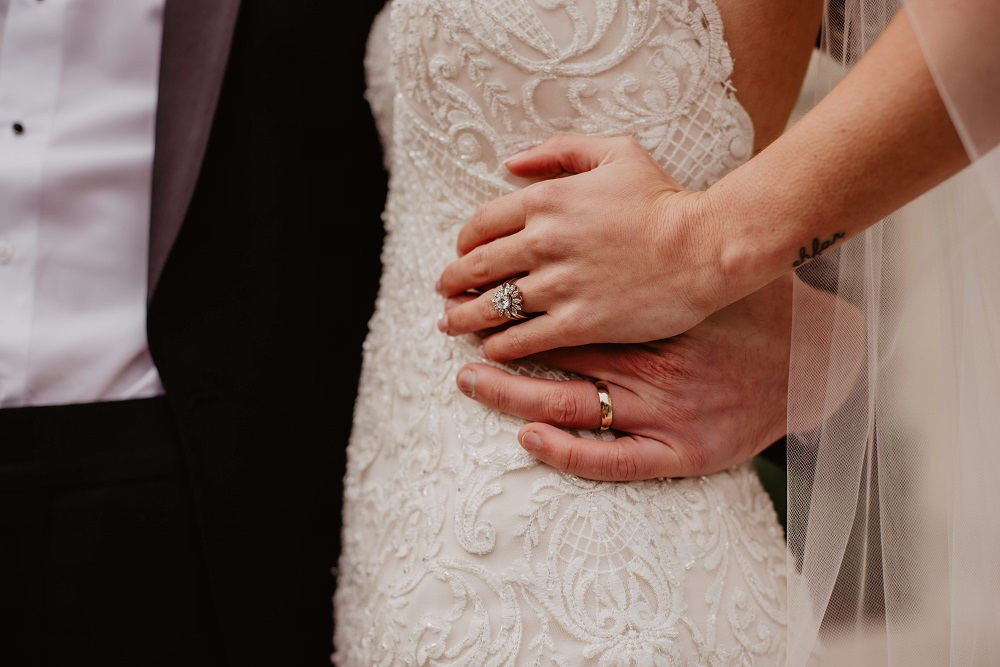
Tips For Choosing The Right For Engagement Diamond Rings
 Tech1 year ago
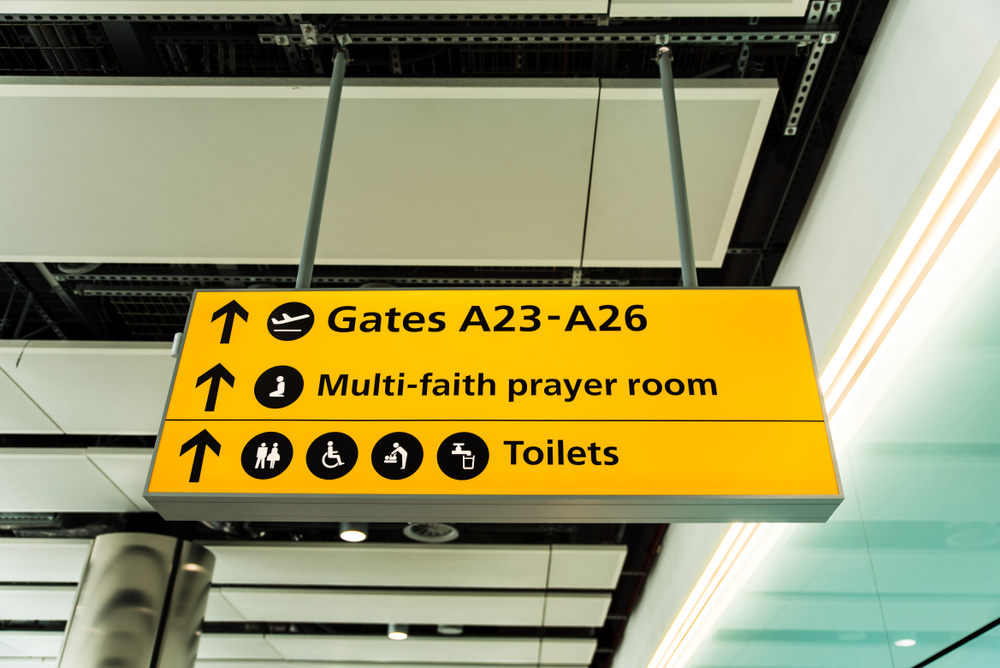
The Best Way to Never Get Lost: Buy Wayfinding Signs!
 Business1 year ago
Top Reasons Why you Need to Consider Outsourcing Real Estate Photo Editing
 Health1 year ago
Garlic Is The Best Vegetable To Treat Heart Problems
 Business1 year ago
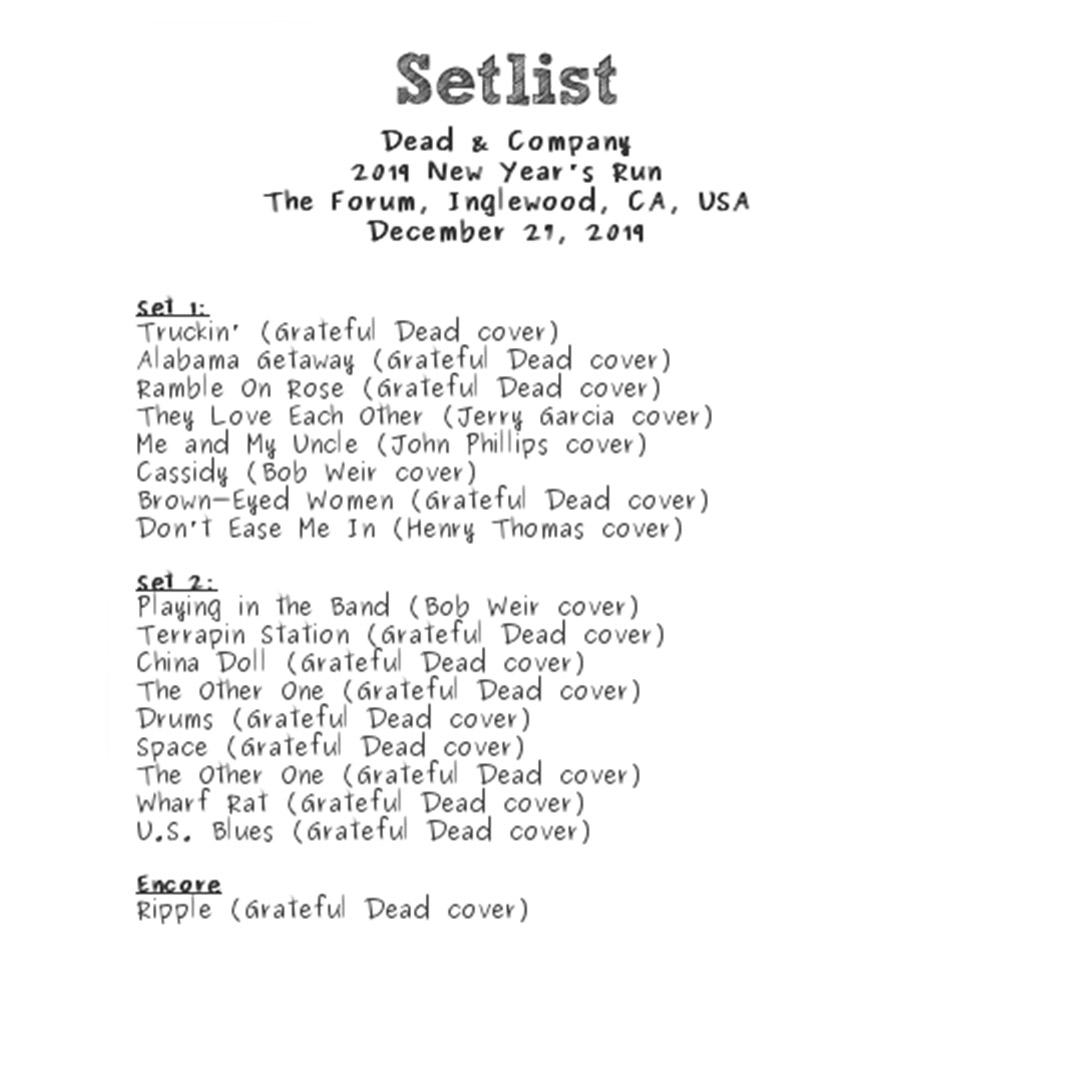
Dead And Co Setlist What They Played At The Gorge Amphitheatre