Software
10 Must-Have Software Programs for Procurement Professionals

Several options are available if you’re looking for a solution to help you automate and streamline your procurement processes. This article will help you choose the best software program for your business needs.
Procurement software is a must-have for organizations that must manage their inventory and purchasing processes efficiently. These tools simplify the process by enabling your team to focus on the most critical tasks.
Vendor Relationship Management (VRM)
Unlike customer relationship management (CRM), which typically focuses on managing and monitoring customer relationships, VRM aims to build strong vendor relationships.
When it comes to building and maintaining these partnerships, there are a few key things that procurement professionals must do to ensure success.
The first is to establish clear expectations for your vendors. This includes establishing communication standards and regularly assessing their performance against KPIs.
Procurement Analytics
Procurement analytics is a powerful tool for procurement professionals. It uses advanced data science techniques to derive actionable insights from spending and supplier data.
It helps organizations identify variance from agreed KPIs and defined processes and fraud detection by identifying spend near approval limits or significant spending without a point of sale.
Unlike business spending intelligence, which is a one-off reporting solution, procurement analytics is a continuous activity that involves discovering, interpreting, and communicating insightful patterns in spending data.
e-Sourcing
E-Sourcing is a strategic procurement process that allows businesses to collect and compare bids from several suppliers. This enables them to choose the most qualified and cost-effective provider of goods or services.
It provides:
- Support for defining supplier selection criteria (RFI).
- Inviting potential suppliers to tender.
- Performing tender processes (RFP and RFQ).
- Running eAuctions.
- Analyzing and evaluating responses.
- Awarding contracts.
Most sourcing software systems or software program options for procurement also include embedded reports that allow for rapid initial feedback, identification of outliers, and determining the best bids per product or service line. Ultimately, this helps speed up the entire sourcing cycle.
Contract Lifecycle Management (CLM)
A contract lifecycle management (CLM) system can streamline your business contracts from creation to renewal and expiration. These tools can also help you reduce unauthorized modifications to your arrangements, improve security and compliance, and ensure all stakeholders are on the same page.
While CLM software is a great way to manage your contracts, it still presents many challenges for modern businesses. This includes technical hurdles, manual processes, and regulatory requirements.
Supplier Relationship Management (SRM)
Managing the supply of raw materials, goods, and services is critical for manufacturers. A manufacturing enterprise can quickly become unprofitable without a steady stream of these supplies.
Developing strong supplier relationships is the foundation for maintaining a resilient and flexible supply chain. The success of these relationships depends on the ability to communicate well and mitigate risk.
CRM software can help procurement professionals and supply chain managers achieve these goals by automating the processes of contract management, payments, and onboarding. It can also improve communication with suppliers and track performance metrics.
Contract Management
Contract management software is a vital tool for procurement professionals. It allows them to manage and track their contracts and vendor relationships.
It also helps them eliminate manual processes that could save time and cost.
This type of software is available in various formats and can be used by both small and large businesses. It is especially beneficial for companies with a high volume of contracts due to sales, leases, and vendor relations.
Supplier Relationship Management (SRM)
SRM software programs can help procurement professionals manage the supply chain by facilitating better communication and providing crucial information to stakeholders. They can also help companies automate processes such as supplier performance monitoring, supplier scoring, and a supplier portal.
SRM can also help businesses improve their quality assurance by ensuring that only high-performing suppliers are included in their network. This can reduce costs and enhance efficiencies within the company’s supply chain.
Contract Management
Contract management software helps procurement professionals streamline and manage their contract creation, negotiation, and renewal processes. It also provides collaboration tools and real-time reporting features to boost stakeholder communication.
This is especially important for large enterprises bound by complex contracts involving different internal departments or external vendors. It helps avoid conflicts by allowing multiple stakeholders to collaboratively author contractual terms and approve specific language and section definitions.
Contract Lifecycle Management (CLM)
Contracts are an essential part of any business. They help to build relationships with customers, suppliers, and partners and provide a way for companies to achieve their goals.
Efficient contract management allows businesses to optimize sales, reduce risk, and improve revenue opportunities. Fortunately, various CLM software programs can help your organization streamline the entire process.
Contract Management
Contract management is a critical procurement element and should be managed effectively to avoid operational and financial risks. It includes determining the scope of work, pricing structures, rights and obligations, project timelines, and warranty provisions.
A sound system can reduce the time spent searching a mountain of paperwork and streamline communication between procurement teams. It also ensures consistency across contracts and supply chain continuity.
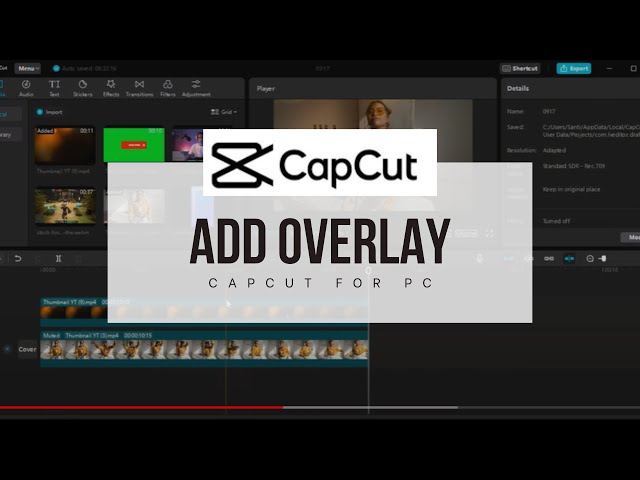
The capcut overlay.Capcut is a popular video editing app developed by ByteDance, offers a wide range of features to enhance and customize your videos. One such feature is Overlay, which allows users to add text, images, or videos on top of their existing footage, creating engaging visual effects.
Understanding CapCut
CapCut, formerly known as Viamaker, is a user-friendly video editing app available for both iOS and Android devices. With its intuitive interface and powerful editing tools, CapCut has gained popularity among content creators, vloggers, and social media enthusiasts.
What is Overlay in CapCut?
Definition
In CapCut, Overlay refers to the process of adding additional elements, such as text, images, or videos, onto your main video footage. These overlays can enhance your videos by providing context, emphasis, or visual appeal.
Functionality
The Overlay feature in CapCut allows users to layer multiple elements on top of each other, creating dynamic and visually appealing compositions. Whether you want to add subtitles, logos, or decorative elements, CapCut’s Overlay feature offers flexibility and customization options.
How to Use Overlay in CapCut
Accessing Overlay Feature
To access the Overlay feature in CapCut, open the app and import your video footage into the timeline. Then, tap on the “Overlay” option from the toolbar to enter the Overlay editing interface.
Adding Overlays
Once you’re in the Overlay editing interface, tap on the “Add” button to choose the type of overlay you want to add, such as text, image, or video. Select the desired element from your device’s library or use CapCut’s built-in assets.
Adjusting Overlay Settings
After adding an overlay, you can adjust its size, position, duration, and opacity to achieve the desired effect. Use the on-screen controls or sliders to customize the overlay according to your preferences.
Types of Overlays in CapCut
CapCut offers various types of overlays to suit different creative needs and preferences:
Text Overlays
Text overlays allow users to add titles, captions, or annotations to their videos. Users can choose from a variety of fonts, styles, and colors to customize the text overlay according to their branding or aesthetic preferences.
Image Overlays
Image overlays enable users to overlay graphics, logos, or decorative elements onto their videos. Users can resize, rotate, and adjust the opacity of the image overlay to integrate it seamlessly with the main video footage.
Video Overlays
Video overlays allow users to insert additional video clips or animations onto their main video footage. Users can trim, resize, and position the video overlay to create dynamic visual effects or transitions.
Customizing Overlays
Changing Size and Position
In CapCut, users can easily resize and reposition overlays by dragging them on the screen or using the on-screen controls. This flexibility allows users to achieve precise placement and alignment of overlays within their videos.
Applying Effects and Filters
CapCut offers a variety of effects and filters that users can apply to their overlays to enhance their visual appeal. From color correction to stylized effects, users can experiment with different options to achieve the desired look and feel.
Tips for Using CapCut Overlay Effectively
Keep it Simple
Avoid overcrowding your videos with too many overlays. Instead, focus on using overlays strategically to enhance key moments or convey important information.
Experiment with Blending Modes
CapCut offers various blending modes that allow users to blend overlays seamlessly with the underlying video footage. Experiment with different blending modes to achieve creative and eye-catching effects.
Maintain Consistency
When using text overlays, maintain consistency in font styles, colors, and formatting throughout your video to create a cohesive visual identity.
Conclusion
CapCut’s Overlay feature offers a versatile and creative way to enhance your videos with text, images, and videos. By understanding how to effectively use overlays and experimenting with different customization options, you can elevate your video content and captivate your audience.
FAQs
Can I customize the appearance of text overlays in CapCut?
- Yes, CapCut offers a variety of customization options for text overlays, including font styles, colors, sizes, and animations.
Can I add multiple overlays to my video in CapCut?
- Yes, CapCut allows users to add multiple overlays, including text, images, and videos, to their videos and adjust their placement and appearance as needed.
Does CapCut offer pre-made overlay templates?
- Yes, CapCut provides a selection of pre-made overlay templates that users can use to quickly add stylish effects to their videos.
Can I animate overlays in CapCut?
- Yes, CapCut offers animation features that allow users to animate overlays, including text, images, and videos, to create dynamic visual effects.
Is CapCut available for both iOS and Android devices?
- Yes, CapCut is available for both iOS and Android devices and can be downloaded for free from the App Store and Google Play Store.
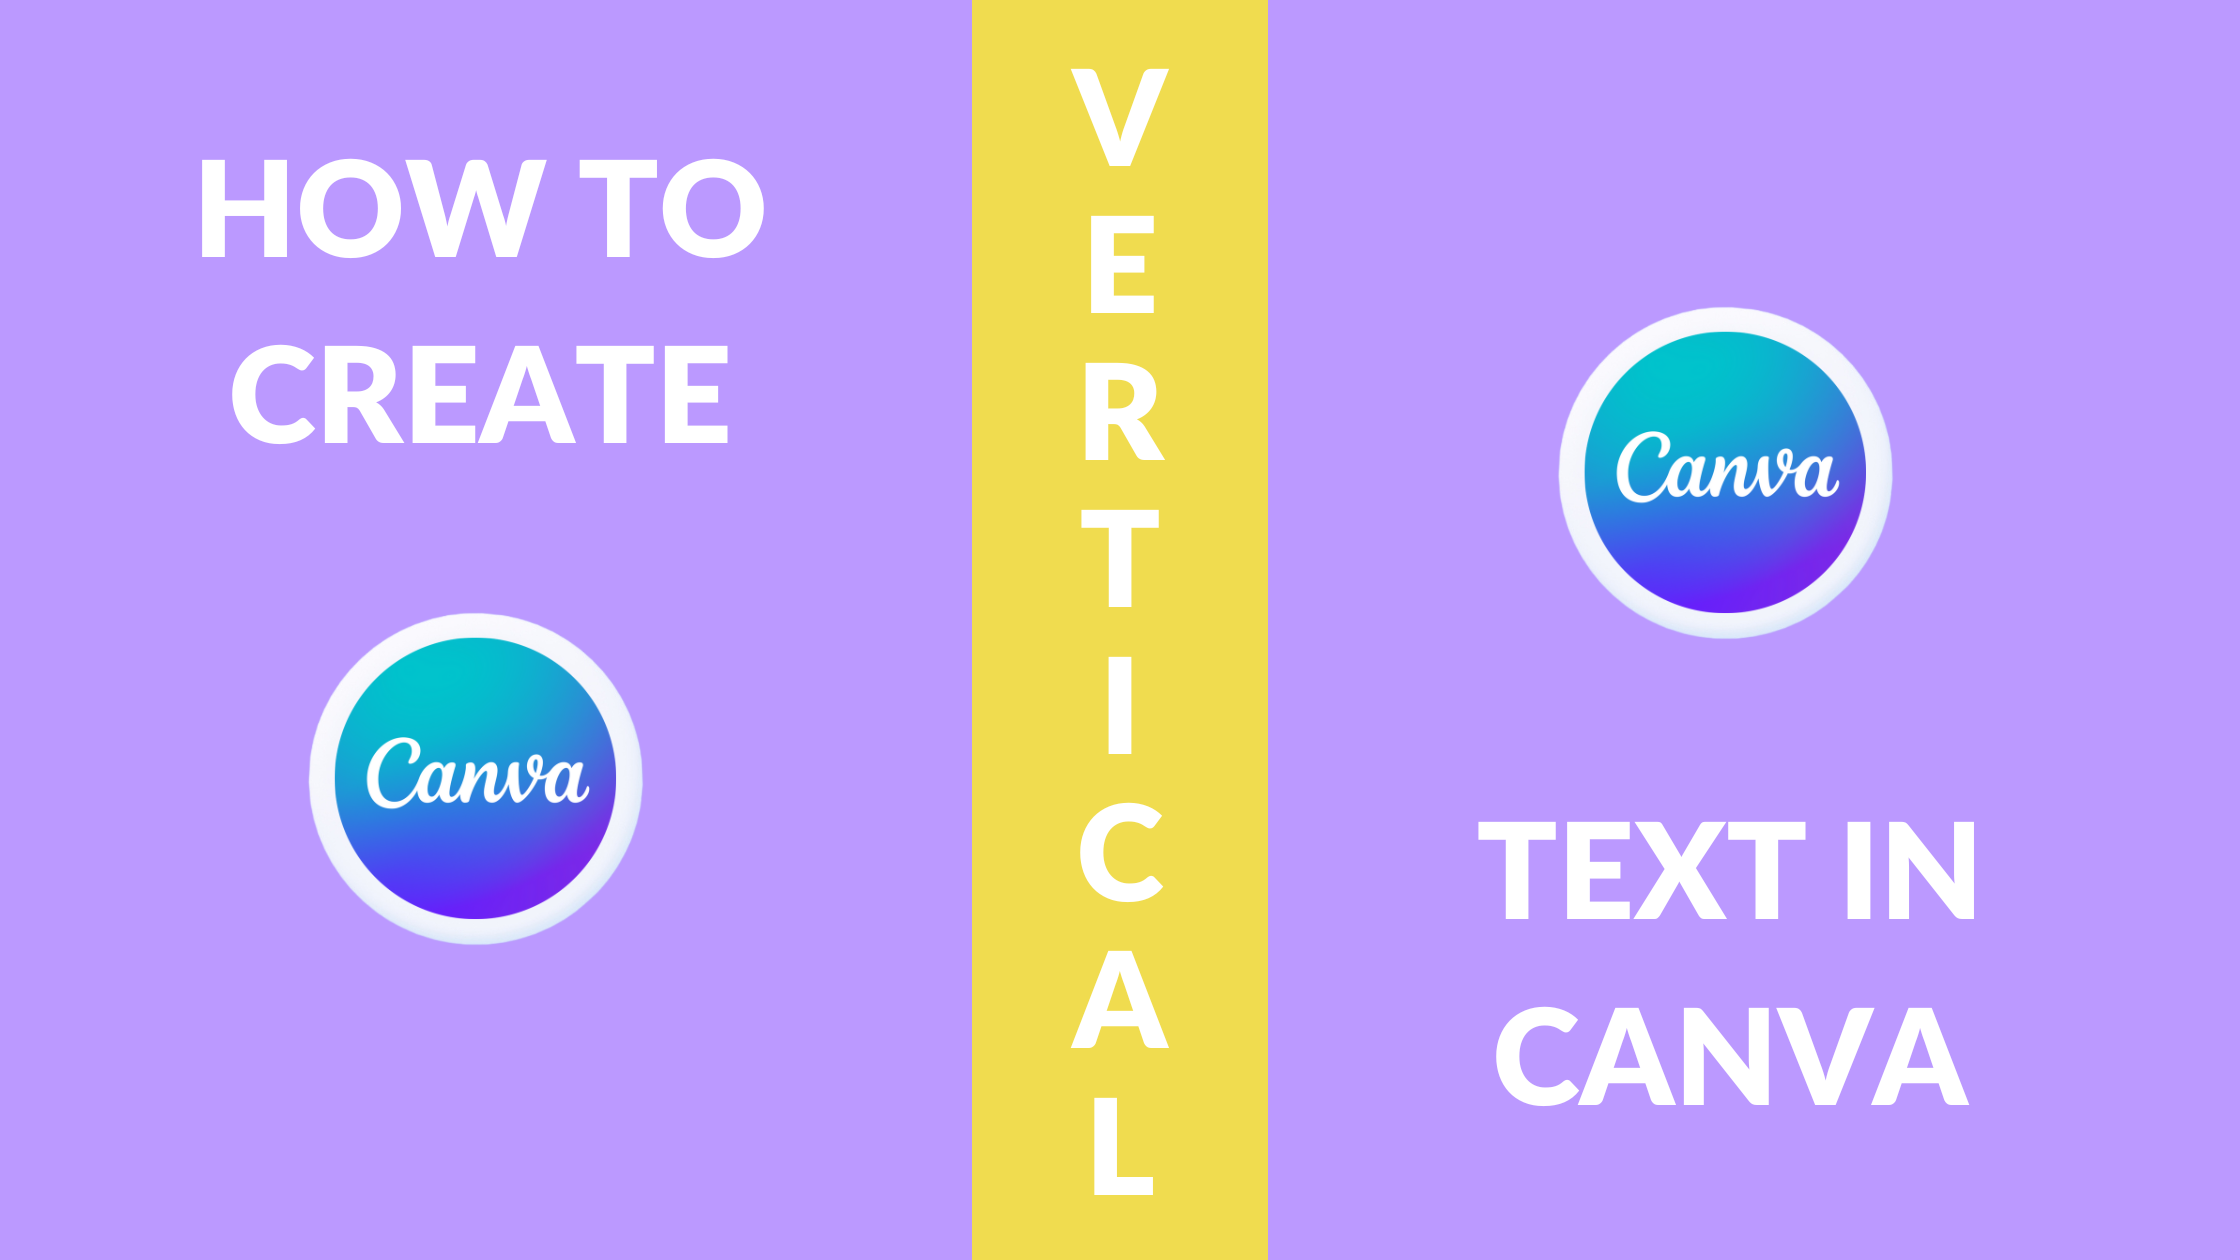
In the world of graphic design, creativity knows no bounds. Vertical text, a stylish and trendy element, has become increasingly popular in various digital designs. Canva, a user-friendly design platform, offers a plethora of tools and features to incorporate vertical text seamlessly into your creations.
Importance of Using Vertical Text
Vertical text adds visual interest and dynamism to designs, breaking away from traditional horizontal layouts. It grabs attention and creates a unique aesthetic appeal, making your content stand out in crowded digital spaces.
How to Create Vertical Text in Canva
Accessing Canva
- Begin by accessing Canva through your web browser or mobile app.
Choosing Vertical Text Template
- Navigate to the template library and select a design template suitable for vertical text.
Customizing Vertical Text
- Click on the text element and rotate it vertically using the rotation handle. Customize font styles, sizes, colors, and alignment to suit your design preferences.
Tips for Designing Vertical Text in Canva
Font Selection
- Choose fonts that are legible and complement the overall theme of your design. Experiment with different font styles to find the perfect match.
Color Contrast
- Ensure adequate contrast between text and background to enhance readability and visual impact.
Text Alignment
- Align vertical text strategically within the design composition to maintain balance and harmony.
Benefits of Vertical Text in Designs
Vertical text offers versatility and flexibility in design layouts, allowing designers to explore innovative typography solutions. It provides a fresh perspective and adds depth to visual storytelling across various digital platforms.
Examples of Effective Use of Vertical Text
- Social media graphics
- Event posters
- Infographics
- Book covers
Conclusion
In conclusion, vertical text in Canva serves as a powerful tool for elevating your design projects and capturing audience attention. By mastering the art of vertical typography, you can unleash your creativity and create visually stunning compositions that leave a lasting impression.
FAQs
- Can I use vertical text in Canva’s free version?
- Yes, you can create and use vertical text in Canva’s free version. Canva offers a wide range of design elements and features, including vertical text, for free users to explore and utilize in their projects.
- Is vertical text suitable for all types of designs?
- While vertical text adds a unique and stylish touch to many designs, its suitability depends on the context and purpose of the design. Vertical text works well for social media graphics, posters, and certain types of branding materials, but may not be ideal for all design scenarios.
- How can I ensure vertical text remains legible on different devices?
- To ensure that vertical text remains legible across different devices, consider factors such as font size, font style, and color contrast. Use legible fonts, appropriate font sizes, and ensure sufficient contrast between the text and background to enhance readability.
- Are there any limitations to rotating text vertically in Canva?
- Canva provides users with the flexibility to rotate text vertically as part of their design customization options. However, users may encounter limitations in terms of text formatting and alignment when working with vertical text in Canva, especially in more complex design compositions.
- Can I animate vertical text in Canva designs?
- As of the current features available in Canva, there is no native support for animating text, including vertical text, within Canva designs. However, Canva continually updates its features and functionality, so it’s always worth checking for any new updates or additions related to animation features.

The article “how to get rid of orange box on chromebook” Chromebooks offer a convenient and efficient way to browse the web and perform various tasks. However, encountering unexpected issues like the appearance of an orange box can be frustrating for users. In this guide, we’ll explore the causes of the orange box on Chromebook and provide effective solutions to remove it.
Introduction to the Orange Box on Chromebook
The orange box that appears on a Chromebook screen can disrupt the user experience and raise concerns about the device’s functionality. Understanding the root cause of this issue is the first step toward resolving it and restoring normal operation.
Understanding the Orange Box
The orange box typically appears as an overlay on the screen, obstructing content and causing inconvenience to users. It may manifest as a notification, error message, or graphical anomaly, signaling an underlying problem that requires attention.
Common Causes of the Orange Box
Chromebook Updates
Outdated software or pending updates may trigger the appearance of the orange box on Chromebook screens. Keeping the device and browser up to date is essential for optimal performance and stability.
Extensions or Add-ons
Incompatible or malfunctioning browser extensions or add-ons can contribute to the emergence of the orange box. These additional features may conflict with Chromebook settings, resulting in unexpected behavior and visual anomalies.
System Errors
Internal errors within the Chromebook operating system or browser environment can manifest as the orange box phenomenon. Identifying and addressing these errors is crucial for restoring normal functionality and resolving the issue.
Methods to Get Rid of the Orange Box
Check for Chromebook Updates
Ensure that your Chromebook is running the latest version of the operating system and browser software. To check for updates, navigate to the Settings menu, select “About Chrome OS,” and click on “Check for updates.”
Disable Extensions or Add-ons
Temporarily disable all browser extensions and add-ons to determine if any of them are causing the orange box problem. Access the Extensions menu from the Chrome browser settings and disable each extension individually or in bulk.
Clear Cache and Cookies
Clearing the cache and cookies stored in the Chrome browser can help eliminate temporary data that may be contributing to the orange box issue. Go to the Chrome settings, select “Privacy and security,” and click on “Clear browsing data” to perform this action.
Reset Chromebook Settings
If the above methods fail to resolve the issue, consider resetting your Chromebook settings to their default configurations. This step will revert all settings to their original state, potentially resolving any underlying issues causing the orange box problem.
Troubleshooting Additional Issues
If the orange box persists despite troubleshooting efforts, consider seeking assistance from Chromebook support forums or contacting technical support for further guidance. Professional assistance may be necessary to address complex or persistent issues.
Conclusion
In conclusion, encountering the orange box on a Chromebook can be perplexing, but it is not insurmountable. By understanding the common causes and implementing the troubleshooting methods outlined in this guide, users can effectively remove the orange box and restore their Chromebook’s functionality.
FAQs About Removing the Orange Box on Chromebook
Why does the orange box appear on my Chromebook?
- The orange box may appear due to various reasons, including outdated software, incompatible extensions, or system errors.
Can I remove the orange box by restarting my Chromebook?
- Restarting your Chromebook may temporarily alleviate the issue, but it’s essential to address the underlying cause to prevent recurrence.
Will resetting my Chromebook delete all my data?
- Resetting your Chromebook settings will restore them to their default state but should not affect your personal data stored in the cloud.
How can I prevent the orange box from appearing in the future?
- Keeping your Chromebook and browser software up to date, using compatible extensions, and practicing good browsing habits can help prevent the recurrence of the orange box issue.
What should I do if none of the troubleshooting methods work?
- If the orange box persists despite troubleshooting efforts, consider seeking assistance from Chromebook support forums or contacting technical support for further assistance.
 Others10 months ago
David T Bolno: Why Giving Back To The Community Is So Crucial
 Travel10 months ago
Practical And Essential Car Interior Accessories To Add Comfort And Convenience To Your Drive
 Travel10 months ago
Business Visa for CANADA
 Business10 months ago
Top Reasons Why you Need to Consider Outsourcing Real Estate Photo Editing
 Health10 months ago
Garlic Is The Best Vegetable To Treat Heart Problems
 Fashion10 months ago
Tips For Choosing The Right For Engagement Diamond Rings
 Business10 months ago
Dead And Co Setlist What They Played At The Gorge Amphitheatre
 Tech10 months ago
The Best Way to Never Get Lost: Buy Wayfinding Signs!